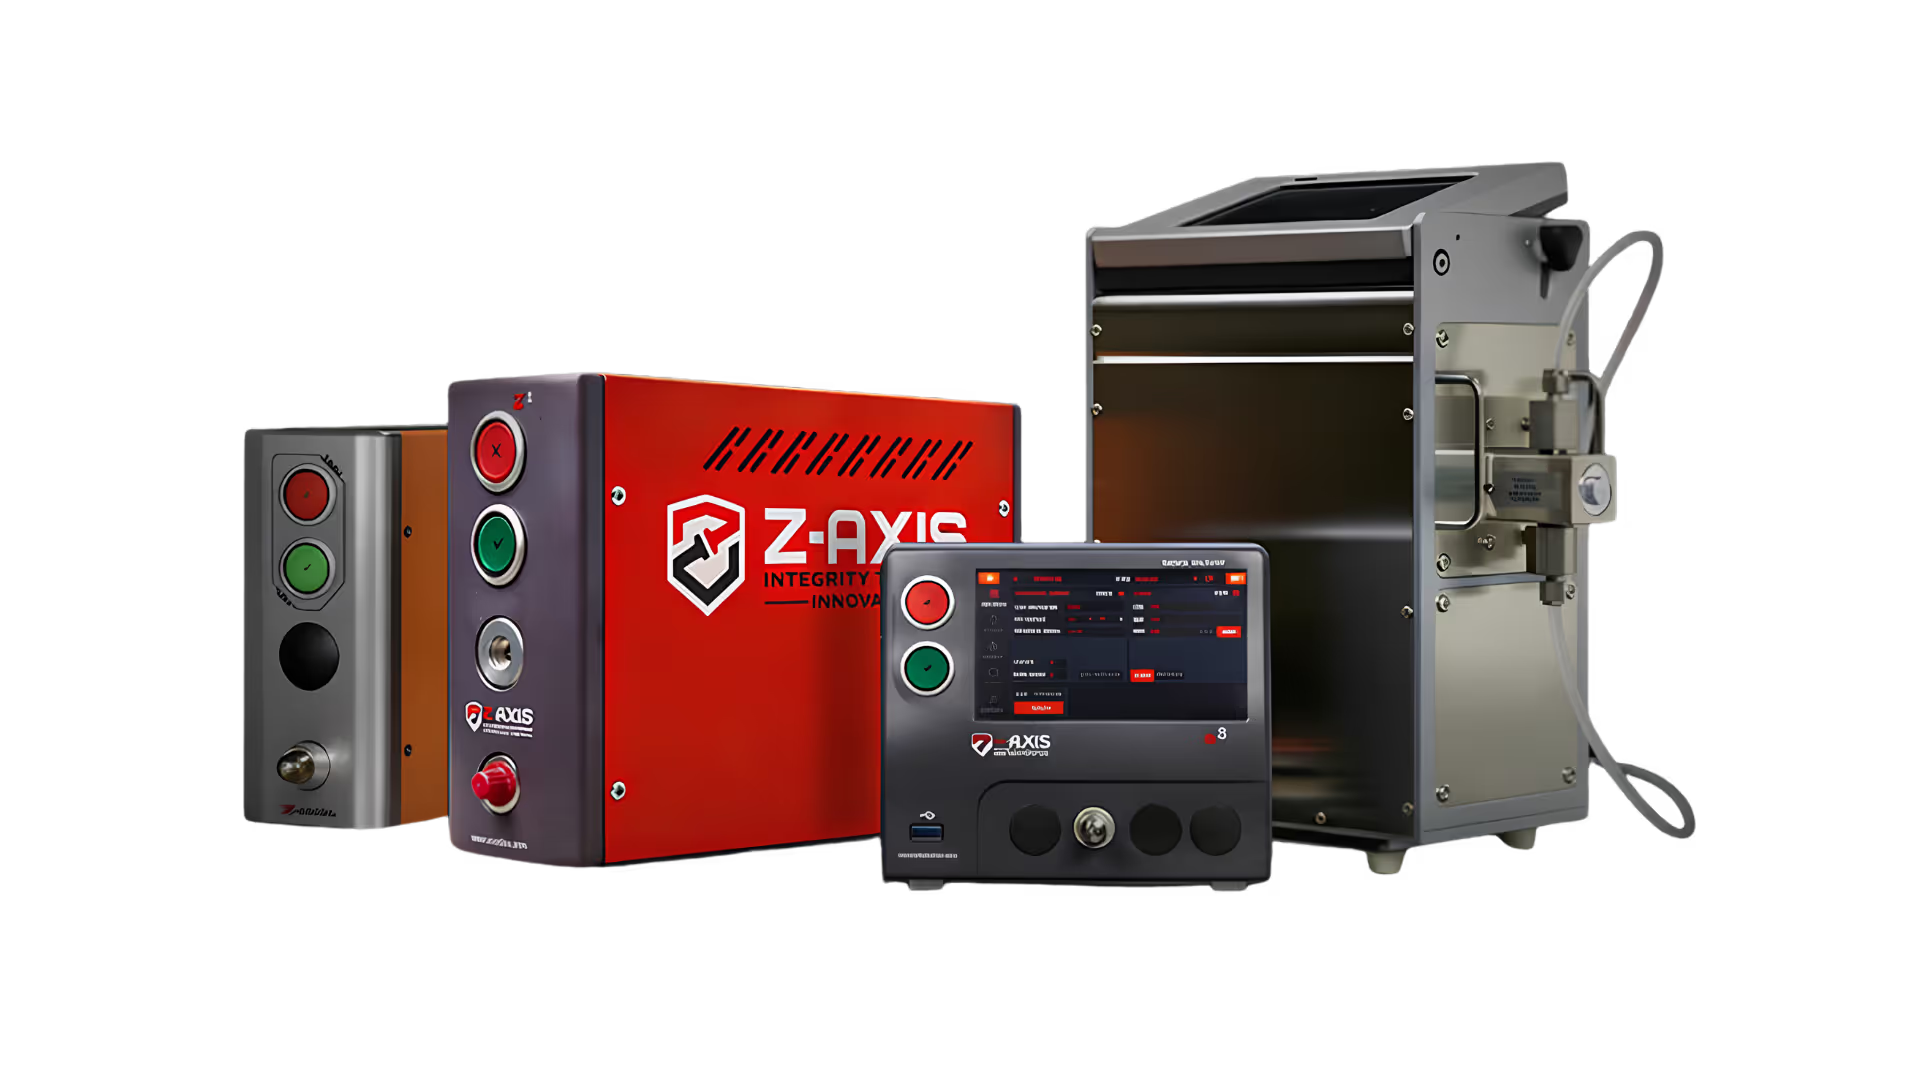

Starting a Test: Pressure Decay Leak Testing – Part 5
In Part 5 of the Zaxis Pressure Decay Series, we move from setup to action: running your first leak test and using it to define a baseline for good parts. – Run an initial leak test and interpret the results – Create a “master” non-leaking part to use as a testing reference
Related tutorials
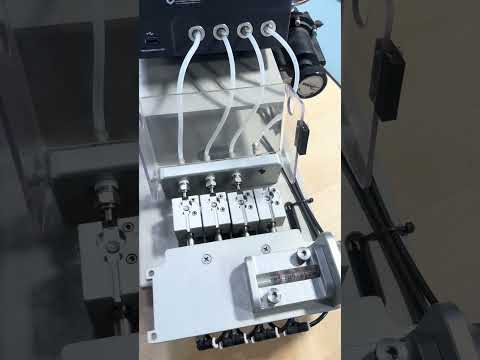
Zaxis Multi-Lumen Catheter Testing
This video shows a multi-lumen fixture for catheter testing using a skive sealer.
Open →
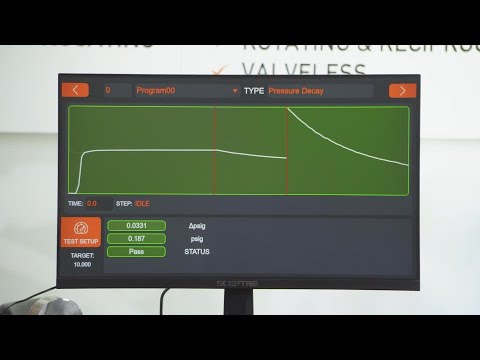
Test Volume and Cycle Time: Pressure Decay Leak Testing – Part 4
In Part 4 of the Zaxis Pressure Decay Series, you’ll learn how test volume affects pressure decay results, test timing, and overall production efficiency. You’ll learn…
Open →
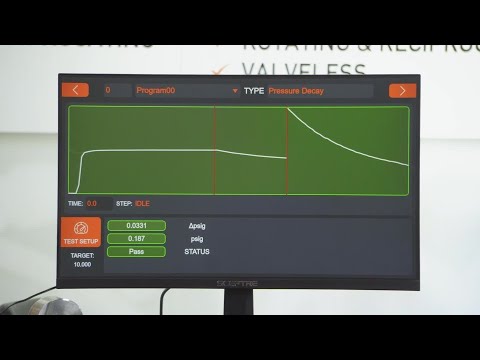
Part Material: Pressure Decay Leak Testing – Part 3
In Part 3 of the Zaxis Pressure Decay Series, we explore how the material properties of your test part can influence pressure decay results. You’ll learn how to: This…
Open →