Fill
Connect the part through a fitting or fixture and fill it to the programmed pressure.

Leak Testing Guide
Pressure decay leak testing pressurizes a sealed part, isolates the air supply, and measures pressure change over time to make a repeatable pass/fail decision.
This guide helps manufacturing teams decide whether the method fits the part, the required test cycle and the production station. It summarizes the variables that make a pressure-decay result useful and routes applications that need a different method.
Request a Quote Request a DemoConnect the part through a fitting or fixture and fill it to the programmed pressure.
Allow the part, fixture and air to settle after filling before measuring.
Isolate the source and measure pressure change during the programmed interval.
Release remaining pressure so the station can safely unload and repeat.
A test program compares the measured change with the application’s acceptance limit. The method is non-destructive when the selected pressure and fixture are appropriate for the part. It is commonly considered for sealed components with an accessible port; a chamber arrangement can extend the approach to parts without a convenient internal connection.
Select pressure for the part, its use and the desired test signal—not as a generic default. Pressure must remain within what the part and fixture can safely tolerate.
Volume changes the pressure response to a leak. Minimize unnecessary fixture volume and account for every connected cavity.
Fill can create thermal and mechanical effects. Time to stabilize helps separate those effects from actual leakage.
Air temperature and material movement can alter pressure. Keep the station and incoming air consistent, and verify the program under production conditions.
A leaking fitting, O-ring or clamp can look like a bad part. Verify the fixture separately and make seals repeatable.
Pressure decay is a measured pressure change, while leak rate expresses gas loss over time under stated conditions. For a practical pressure-decay estimate, the relationship is proportional to test volume multiplied by pressure change, divided by the test interval: leak rate ∝ V × ΔP / Δt. The correct conversion depends on the chosen units, absolute pressure reference and stated conditions.
Use the Zaxis leak-rate calculator to work through volume, pressure drop and time. A calculated value is only as representative as the controlled part volume, test pressure, temperature and fixture condition behind it.
Absolute pressure decay reads the change in one pressurized test volume after the source is isolated. Differential pressure decay compares a test part with a reference volume. The comparison can help reject common-mode changes, but it adds reference-part and plumbing considerations. Review the differential pressure decay method alongside the pressure decay method page when choosing an approach.
See the neutral leak test method chooser for a side-by-side route through air and trace-gas methods.
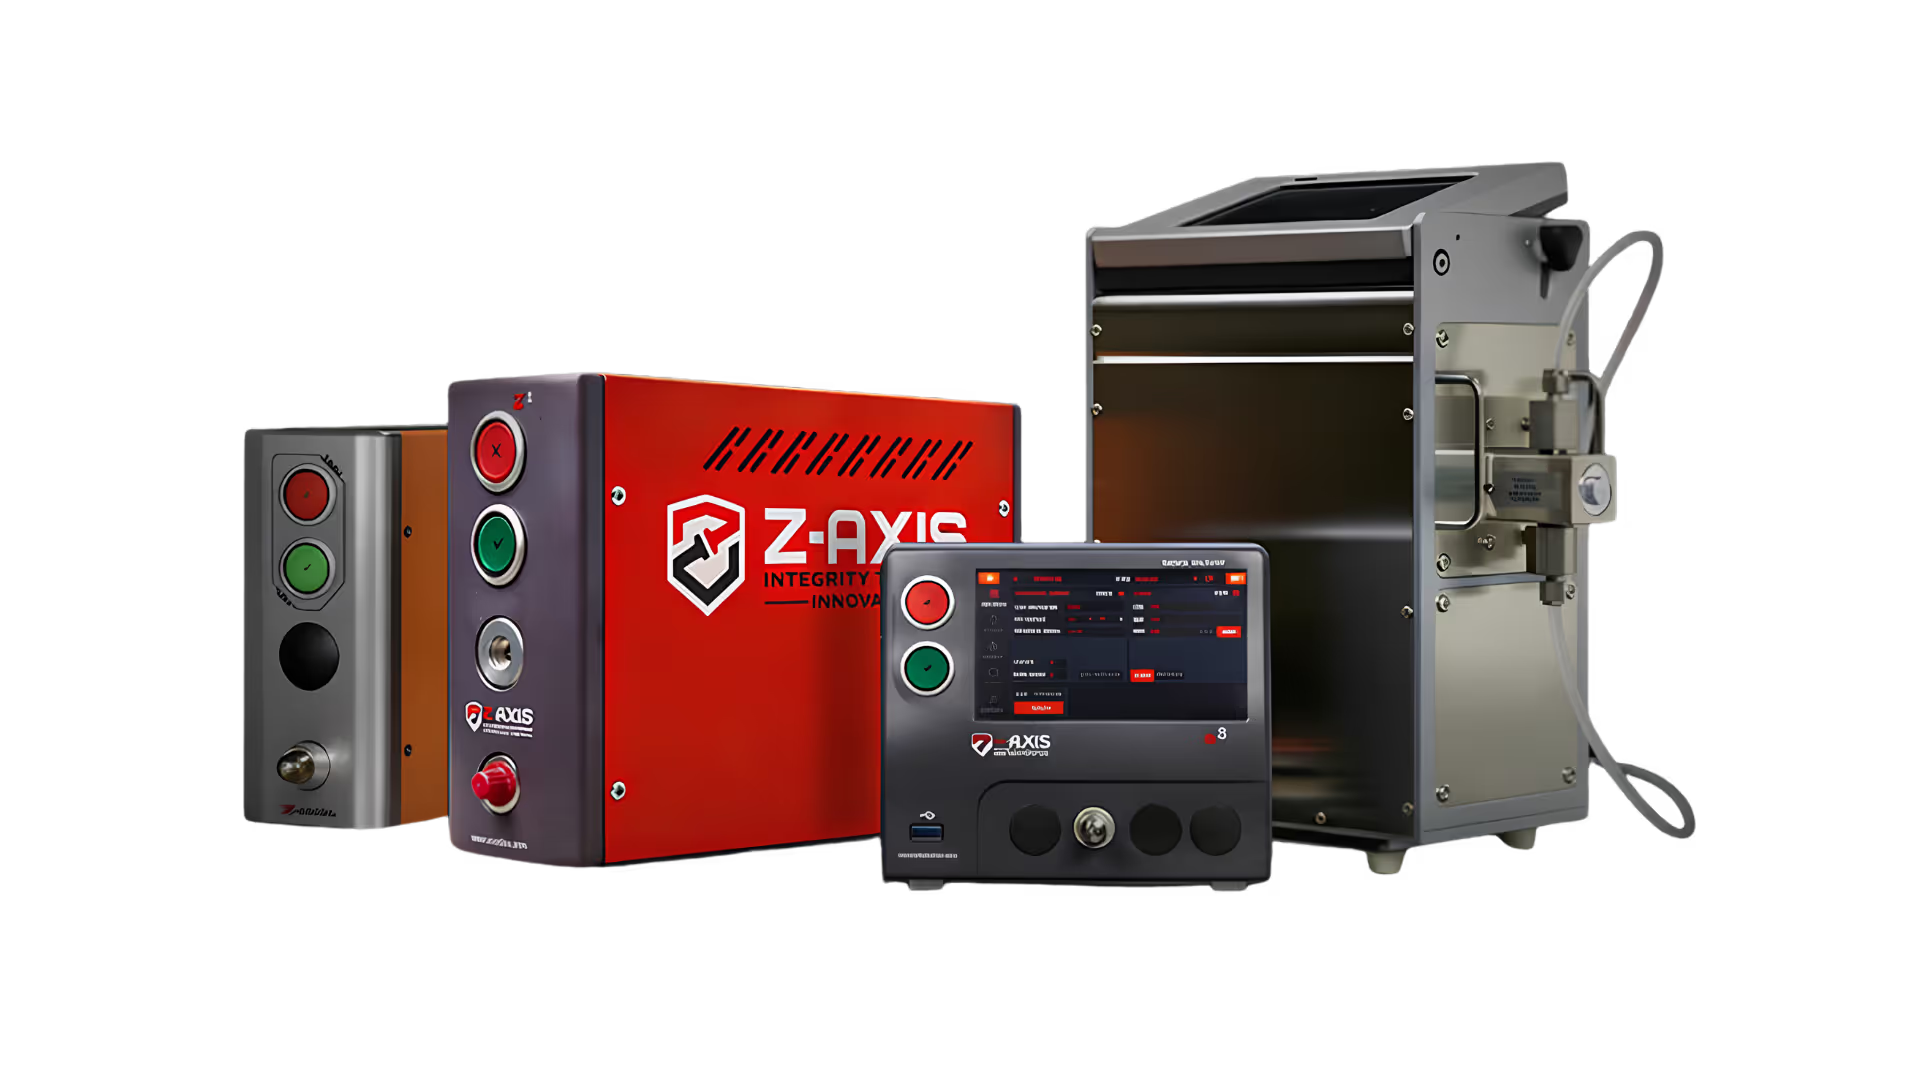
Start from the station requirement: number of independent channels, required pressure range and resolution, recipe and data needs, automation I/O, fixture layout and the production environment. Confirm the final configuration with an applications engineer.
| Model | Selection conversation |
|---|---|
| Z1 | Discuss for a compact pressure-decay station and the required range, I/O and fixture connection. |
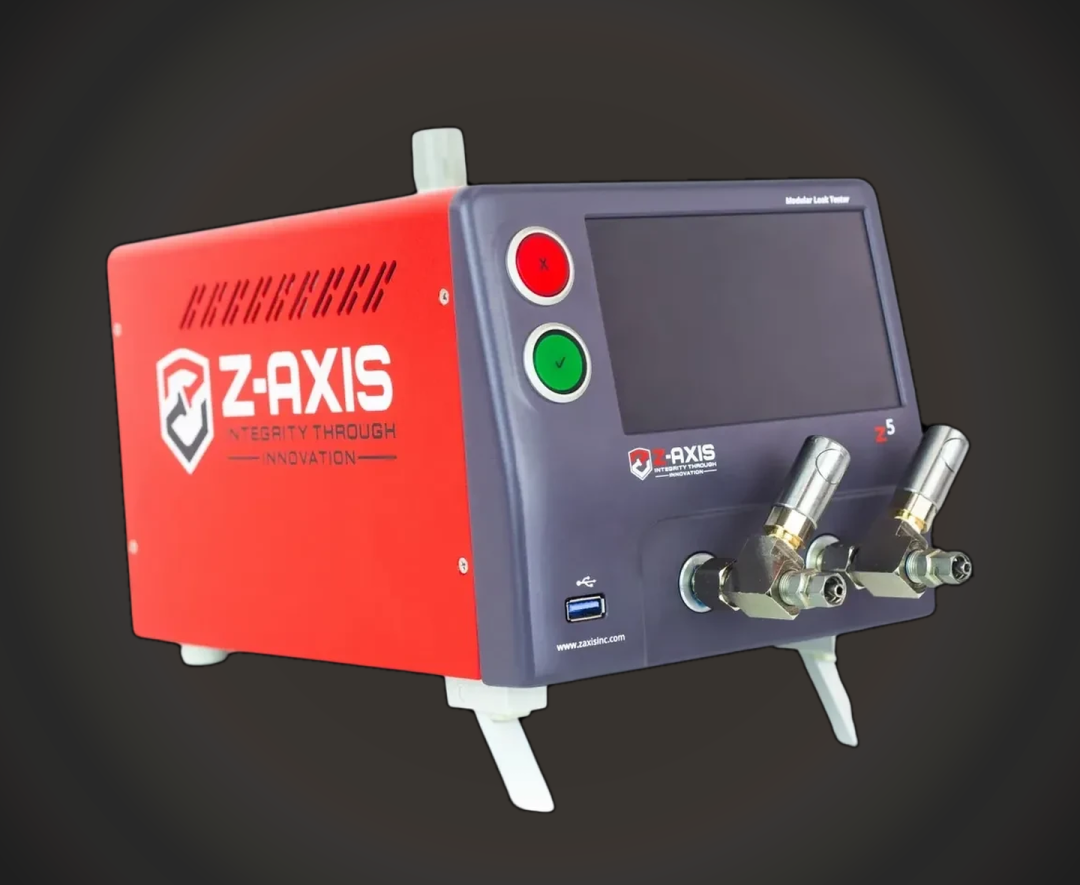
| Z5 | Discuss for production applications that need the specified channels, resolution, recipes and integration. |
| Z5L | Discuss when the application needs a Z5-family configuration matched to the station. |
| Z8 | Discuss for an application requiring the Z8 configuration, test program and automation interface. |
| Z8N | Discuss enclosure and production-environment requirements with Zaxis before specifying the station. |
A fixture is part of the measurement system. Keep connection geometry repeatable, minimize dead volume, select seals for the part and test pressure, and verify that clamps and fittings return to the same condition. Create a routine for checking the fixture independently before changing a tester limit.
Common false failures come from a fixture leak, unstable material after fill, temperature change, inconsistent incoming air, an unaccounted-for volume, or a program that starts measuring before the system settles. The existing pressure-decay article and common methods overview provide additional method context.
ASTM E2930 addresses leak testing of packages by pressure decay. ASTM F2095 addresses package integrity testing by internal pressurization and bubble emission. ASTM F2338 addresses non-destructive detection of leaks in packages by vacuum decay. These references help define method scope; they do not by themselves establish equipment certification or compliance for an application.
It pressurizes a sealed part, isolates the source and evaluates the pressure change over a defined interval.
It lets pressure and temperature effects settle before the measurement window, reducing false failures.
A larger test volume generally needs more time to produce a useful pressure change from the same leak.
Pressure decay measures a drop from positive pressure; vacuum decay measures a pressure increase after vacuum is applied.
No. It provides a pass/fail result; a sniffing method is used when locating an escaping gas is required.
Document the part volume, test pressure, reject limit, cycle time, fixture, channel count and required automation I/O, then discuss the application with Zaxis.
A pressure-decay program is a sequence, not simply a pressure setpoint. Begin with the part in its production condition and identify every volume connected to the test port. Include adapters, hoses, manifolds and fixture cavities. The result represents the complete sealed test volume, so changes in any of those elements can change the result.
During fill, the pressure source brings the connected system to the programmed condition. The fill stage must be long enough for the available supply, valves and fixture path to reach the intended pressure. A restriction, blocked passage or inconsistent connection can make fill behavior look different from one cycle to the next. In applications where a flow path itself is being evaluated, mass-flow testing or occlusion testing may answer the more direct question.
Stabilization follows fill because gas and materials respond to the pressure change. A flexible part can stretch; a seal can seat; and compressed air can change temperature. Measuring before those effects have settled can produce an apparent leak that is not a part leak. Conversely, an unnecessarily long settle stage may consume cycle time without improving the decision. Establish the timing from representative parts and the intended production environment.
During the test stage, the source is isolated and the instrument applies the programmed measurement logic. The acceptance limit should trace to the application requirement and the agreed test conditions. The vent stage then returns the part or fixture to a condition where it can be safely disconnected. Keep the four stages documented with the recipe so that maintenance, quality and automation teams can recognize a material program change.
Describe the failure the test is intended to prevent: loss of contained fluid, ingress, assembly escape or another product-specific condition. The description guides the acceptance requirement and method review.
Identify accessible ports, surfaces that may be sealed, allowable clamp locations and parts that cannot be stressed. A connection strategy often determines whether direct pressure decay or a chamber approach is practical.
Specify pass/fail output, traceability, recipe control, independent channels and communication with the automation cell before choosing I/O and configuration.
Material temperature, incoming air, operators, fixture wear and part variants are production realities. Plan verification and maintenance around those sources of variation.
Evaluate the proposed method on representative parts, with the intended fixture and cycle. A result that is repeatable on a benchtop may need a different setup when it is installed beside an automated line. The review should include acceptable measurement variation, a way to check the fixture, and a response plan when results shift.
Fixturing should locate the part consistently, seal only where the design allows, and present a repeatable internal volume. Choose sealing interfaces that match the part geometry and intended pressure. A seal that moves from cycle to cycle, a connection that is cross-threaded, or a hose that is changed without revalidation can become the dominant leak path.
Before rejecting a production batch, isolate the question. Check a known fixture condition, fittings and hoses; confirm the part is seated; review the pressure and time recipe; and compare the change with environmental or material events. This disciplined process helps distinguish a part-related signal from a station-related signal. Zaxis also offers leak test fixture information for teams planning a dedicated station.
Document the part revision, fixture configuration, selected pressure condition, timing stages, acceptance logic and required station outputs. Train operators to recognize normal loading and seal engagement, while giving maintenance a defined check for fittings, seals and tubing. When a part or fixture changes, review the complete test volume and rerun the application checks rather than assuming the existing limit transfers unchanged.
For automated lines, clarify the handoff between the tester and controller: start permissives, part-present signals, cycle-complete output, pass/fail handling, fault states and record retention. Channel count should match the fixture and desired diagnostic result. When multiple cavities are tested, independent reporting can help the station identify the relevant cavity instead of treating the assembly as a single undifferentiated result.
Use the production review to compare stable reference behavior with representative good and failed conditions where available. That record supports a controlled launch discussion and establishes a baseline for future troubleshooting.
Keep the selected method, test conditions and acceptance decision together in the application record. When a test is questioned later, the team should be able to identify the part revision, fixture, program and production condition that produced the result. This supports orderly troubleshooting and helps prevent a temporary adjustment from becoming an undocumented process change.
See the leak-testing glossary for definitions used in this guide.